SourceTree
Development environment and workflow
Installation and first time setup of SourceTree
- Download and install SourceTree
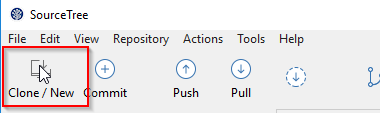
- In SourceTree, click "Clone/New"
- Input the source and destination paths

Source Path: https://bitbucket.org/indeni/indeni-knowledge/
Destination Path: A local folder on your filesystem - Click Clone
- You now have a copy of the entire indeni-knowledge remote repository (at this moment). When you clone, SourceTree also creates a local master branch which is setup to "track" the remote master branch. The remote is known as origin, and the corresponding remote branch is known as origin/master. So, you have a local branch, master, setup to track the remote origin/master. Tracking just means that if you push/pull from your local master branch, this will automatically push to/pull from origin/master. This is the basic setup.
Creating and Using Branches
To create a new branch, please refer to the documentation in Pushing Code.
- You have a local master branch, but this isn't the place to do your work: you need your own branch for that. And, your personal branch should be a branch from staging, not master. So, the first thing to do is setup a local staging branch to track origin/staging.
- Expand Remotes > origin
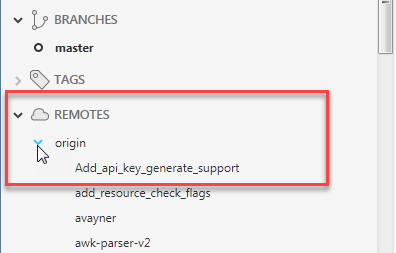
- Scroll down the list until you find staging. Right-click on staging and select "Checkout origin/staging..."
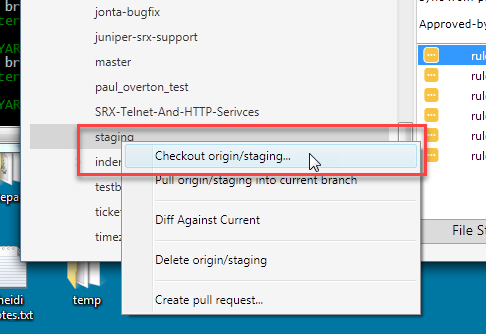
- In the popup dialog, type in the local branch name, staging, and make sure "Local branch should track remote branch" is checked.
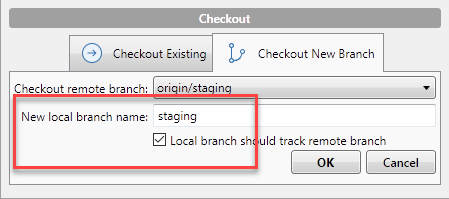
- If you scroll back up, you should see your new staging branch under BRANCHES, and it should be checked out (in bold with the little dot next to it):

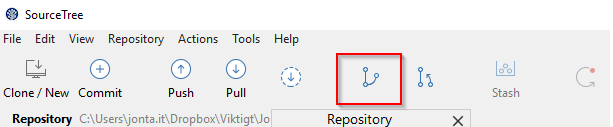
- Now, you're ready to created your own branch. Generally speaking, you should always create a new branch from a JIRA ticket. But, if you need to manually create your own branch in SourceTree, click the branch button
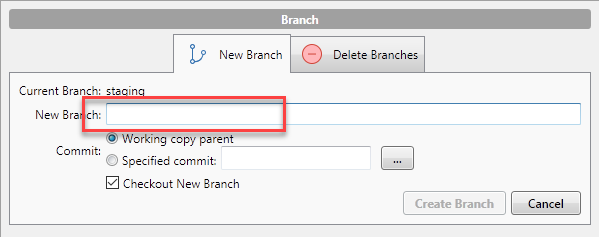
- Choose a name for your branch and click "Create branch".
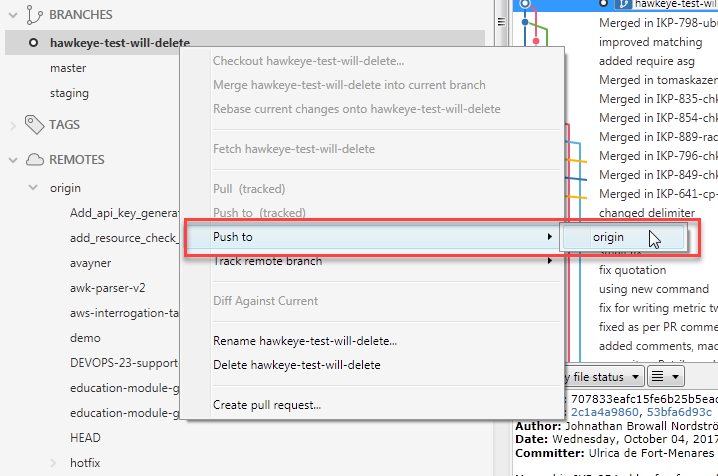
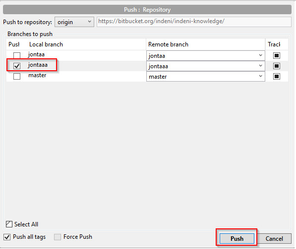
- If you manually create a local branch in this way, you will need to create a corresponding remote branch in the remote repository. To do this, right-click on the local branch and select Push to > origin:
Now, make sure that only your local branch is selected for push, and that it is pushing to a same-named remote (this remote doesn't exist yet, but once you push, it will). Also, make sure the Track? checkbox is selected; this will ensure that pushing/pulling will automatically use this new remote in the future. Now, click Push.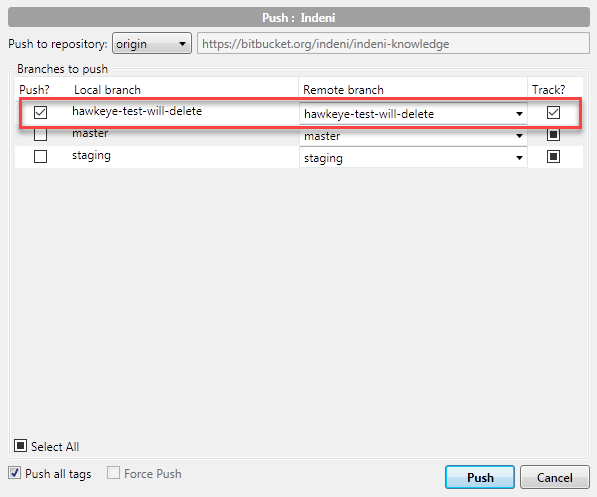
- Now you have a local branch which is setup to automatically push/pull from a same-named remote branch. You are now ready to start writing code. Whenever you later push code back to the remote, make sure you have selected only your own branch to push to.
Committing and pushing code
Once you have made a few changes you want to commit the code. Remember to commit often and use a descriptive commit-message. Include the JIRA ticket ID if one exists
- Open SourceTree and click "Working copy"
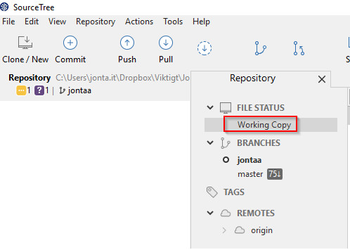
- Here you will find the files that has been changed. Mark one of the .ind files that has been changed and click "Stage selected"
Here is explanation for some of the icons used: = An existing file has been changed
 = A new file has been created
 = Existing file has been removed
- Now enter a commit message and click "Commit" (You will see the files you have stages in the top box)
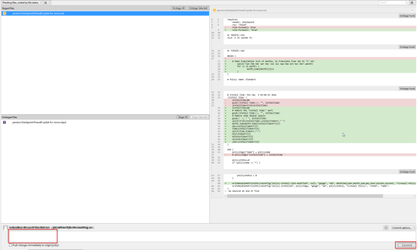
- Now you can keep committing changes. If you have made changes to several files and want to include them all in one commit, you can stage multiple files before committing.
- After you feel like you have done some work, and want it backed up to the remote server (still on your branch) you do "Push". But make sure you have only marked your own branch!
- Your changes are now safe on the remote server
Syncing with master
You are now working on a copy of the master branch, but when you want to merge your changes into master, you do so by requesting to have your changes added to the staging branch. From there it will be tested and then merged into master. Be aware that while you were working on the copy of master from your last sync, someone else might have changed the same file you worked on, and had it committed to staging and then master before you. Thus when you want your changes merged into master there could be conflicts.
Better to solve them as soon as possible, and to do that we need to sync down the changes from master and merge into our local files. (but we use a method called rebase instead of merge)
First we need to enable the option to force push
- Go to Tools → Options

- Go to Git → Enable Force Push

After this is done we can get started
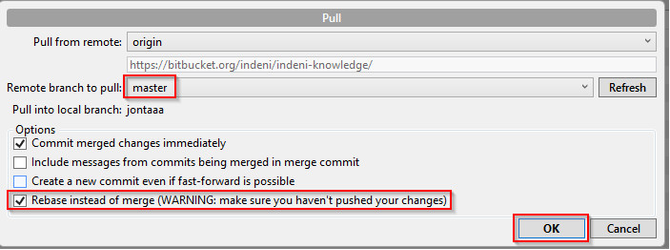
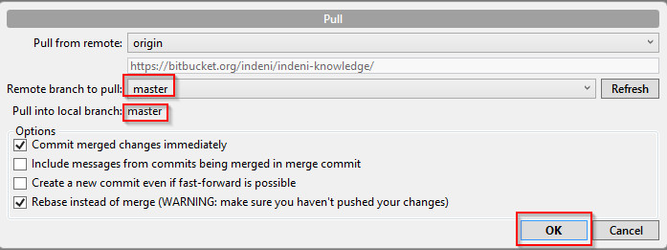
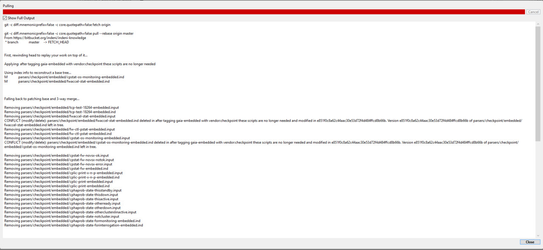
- Open "Pull" - select "Remote branch to pull" as "master" and "Rebase instead of merge" and click OK
- If you get a merge conflict, its easiest to resolve with "Mine and Theirs". Right click on the file having the issue and select "Resolve using Theirs" to use YOUR file as a whole, and disregard the new one from master, and "Resolve using Mine" to use the file from master and overwrite your own. You could back it up before and re-append your changes after. There is more info about conflicts in a separate section
- You are now synced with master.
- Now we want to push these changes from your local "working" branch to the corresponding remote, so that your changes are backed up. This time, because of the rebase, you must force push to the remote.
- Go to "Push" and check the "Force push" checkbox. Also as always, make sure you are pushing to your own branch

- All done, you can now create a pull request
Creating a pull request
Now and then you want to make sure you changes are merged into master, and not just residing in your branch.
First make sure you have done a rebase of master as described above
After that, follow these steps
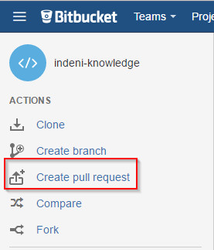
- Go to https://bitbucket.org/indeni/indeni-knowledge/
- Click "Create pull request" in the left hand menu
- Make sure your branch is selected on the left side, and staging on the right side. Also make sure you include the IKP ticket in the tile and select your designated Knowledge Expert as reviewer. If your pull requests includes documentation change, please add Liz or Ulrica as code reviewers. Do NOT select "Close branch".
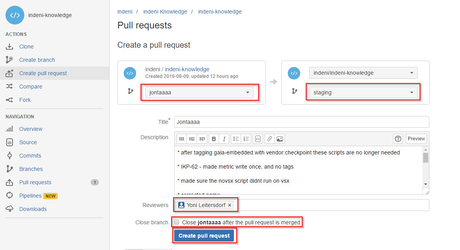
- Click "Create pull request"
- The reviewer will now receive a request to review your code. He will comment in-line in the code in Bitbucket and you will get emails notifying you. You can then change or append the code as you and the reviewer sees fit and when you have fixed things you push to you branch again so that he can see the change is correct.
- Every time you push to your branch while having an active pull request, your changes will be added to the pull request. So focus on solving the issues of the pull request before starting new development.
- Once the reviewer is satisfied he will allow the merge into master.
- Now write more code and repeat the process.
Fixing bugs
So your current situation is that you have merged your code into staging, which later goes into master. From master its pushed out to all indeni customers and they start using your code.
In the meantime you start develop new functionality and push it to your own branch as usual.
But suddenly a bug is discovered in a script that is in master, and needs to be fixed.
You cannot just fix it and create a pull request, since that pull requests would contain all the other changes you have already done on your branch. There is no way to pull request only a single file.
The solution is to create a new branch only for the bug fixes
- Start by pushing all your work to your branch, to keep them safe.
- Then double click "master" in the left hand menu, to make it your active branch. A circle next to it indicates that its now active.
- Your local directory with files has now changed to master. So files you had committed to your own branch but not yet sent to master won't be visible until you switch back.
- Now we need to pull down master to make sure its current.
- Click "Pull" (this icon probably has a number next to it. It is the number of changes that are in the remote master but not in your local.
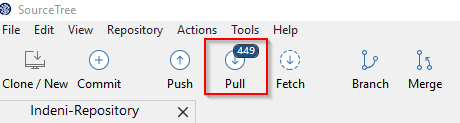
- Then click OK
- You now have the latest master and can create a new branch.
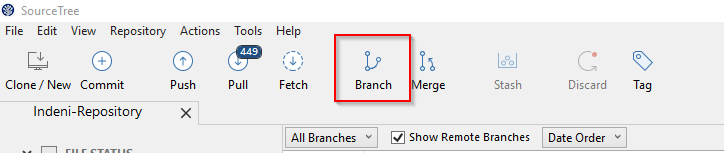
- Click on the branch icon, to create a new branch
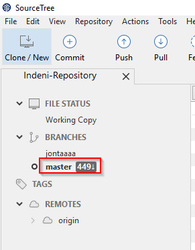
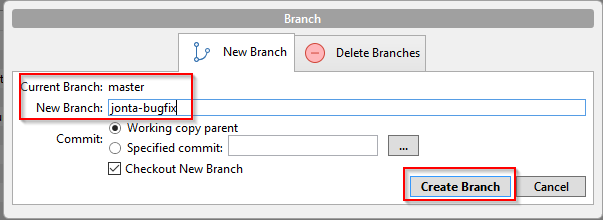
- Make sure that the current branch is master, and then select a new name for your branch.
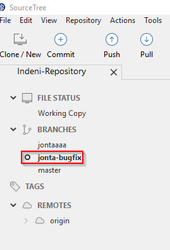
- The left hand menu should now look like this
- You can now start working on the bug fixes, committing and then pushing them to the new temporary bug fix branch, and later creating a pull request for this branch to merge to staging
Merge conflicts
Sometimes when rebasing of master you might get a conflict. It could look like this
We can see that the issue is:

What is a merge conflict?
When you change a file and commit it what happens is that your client says "Line 53, that has data XXXX, change it to YYYY"
But if someone changed it on the remote side, and the data is not XXXX, then we have a conflicts
You will probably see conflicts most when you do a pull rebase from staging
There are two main ways to solve a conflict
Solve with Mine/Theirs
This is the simplest solution, but also often not the best way.
Solving with Mine or Theirs means that you will says "Keep my local file and discard the remote file" or "Keep the remote file and discard the local file"
A confusing part can be that the expressions are as seen from the remote repository. So if you are doing a rebase from remote origin, resolving a conflict using "Mine" means the remote origins file, and "Theirs" means your local file.
Here is how to use it:
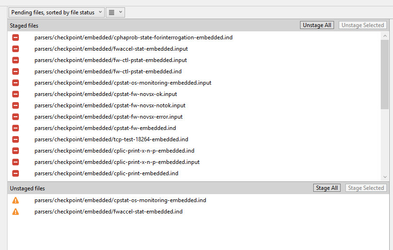
When you get the merge conflict you will see the conflict files in the SourceTree UI
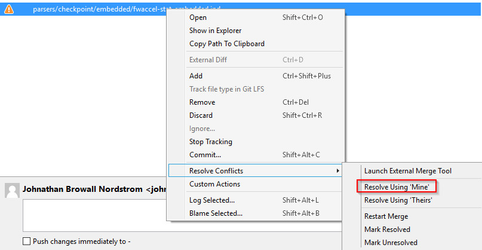
Right click on one of them and select Resolve Conflicts → Resolve using "Mine" or Resolve using "Theirs"
Creating a new version
Most of the time you might want to keep data from both the remote and the local file. To do this you need to create a third version that will be kept.
This is how you do it:
When you get a merge conflict the file that has the conflict will be appended with both versions of the file and look like this:
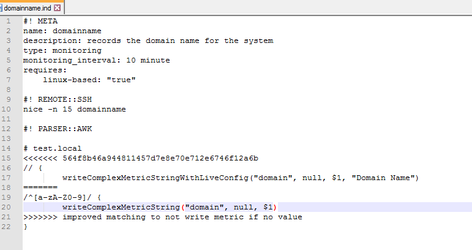
As we can see in this case the first version is started by <<<<<<< and then the commit ID, and it ends with ============
After the ======= the next version starts, and ends with >>>>>>>>>> and the commit description
What you need to do is to remove all the >>>>>> <<<<<<< and === as well as the commit messages and create your new version. It should look just as it should with all the extra data that has been inserted removed.
When that is done you can go back to the SourceTree webUI and right click and the file, and selecting "Mark as resolved"
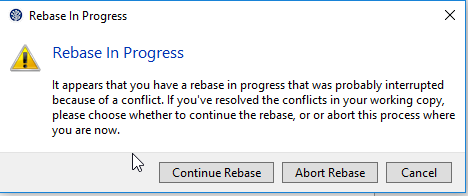
After you have fixed all the files you can continue the rebase by clicking "Pull" again and selecting to Continue Rebase
Things to consider
- When moving a file from one folder to another, it will show as if you deleted the file from the source folder, and created a new file in the destination folder. This means that during a Pull Request it will be hard to follow any changes done to the file since in the Pull Request it will show the diff from the branch you want to commit to. If the file is considered new, then the reviewer cannot see what has changed.
Consider doing only moves in a separate Pull Request first, and then work on the code as normal after