...
To create a new branch, please refer to the documentation in Pushing Code Old. The following is out-of-date documentation; we're keeping it around because it might be helpful in explaining some details about how to create and work with branches in SourceTree. But, you should generally be creating branches using the process outlined in Pushing Code Old.
- You have a local master branch, but this isn't the place to do your work: you need your own branch for that. And, your personal branch should be a branch from staging, not master. So, the first thing to do is setup a local staging branch to track origin/staging.
- Expand Remotes > origin
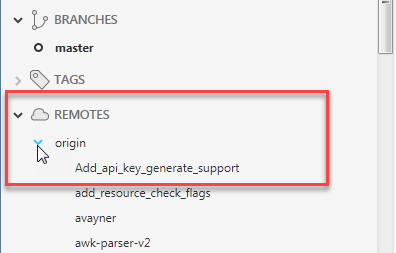
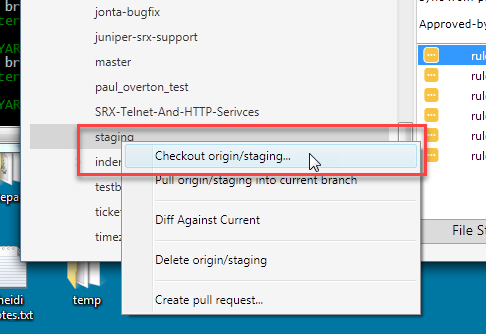
- Scroll down the list until you find staging. Right-click on staging and select "Checkout origin/staging..."
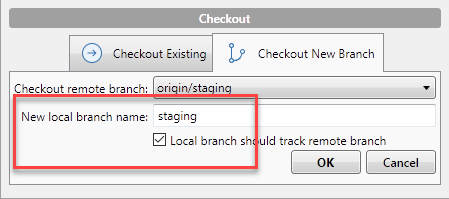
- In the popup dialog, type in the local branch name, staging, and make sure "Local branch should track remote branch" is checked.
- If you scroll back up, you should see your new staging branch under BRANCHES, and it should be checked out (in bold with the little dot next to it):

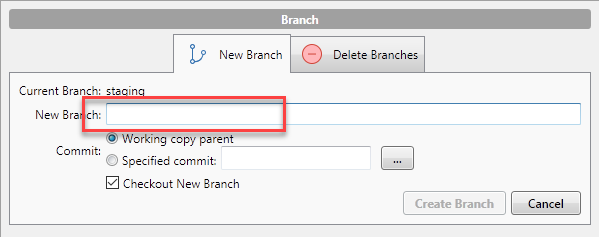
- Now, you're ready to created your own branch. Generally speaking, you should always create a new branch from a Jira ticket, following the directions on Pushing code (git)JIRA ticket. But, if you need to manually create your own branch in SourceTree, click the branch button
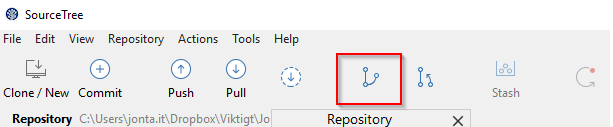
- Choose a name for your branch and click "Create branch".
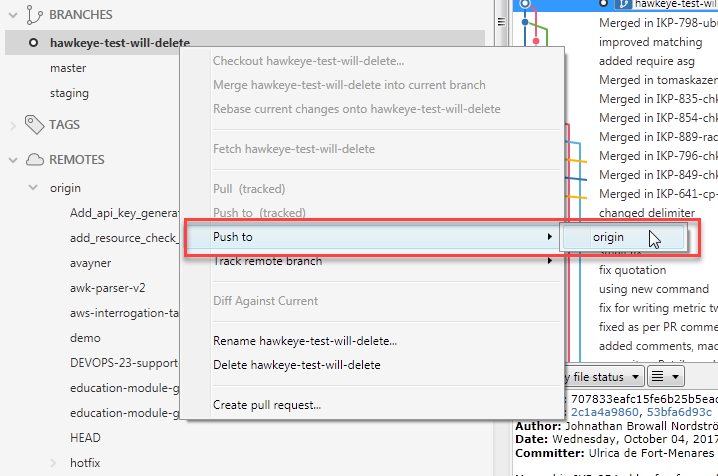
- If you manually create a local branch in this way, you will need to create a corresponding remote branch in the remote repository. To do this, right-click on the local branch and select Push to > origin:
Now, make sure that only your local branch is selected for push, and that it is pushing to a same-named remote (this remote doesn't exist yet, but once you push, it will). Also, make sure the Track? checkbox is selected; this will ensure that pushing/pulling will automatically use this new remote in the future. Now, click Push.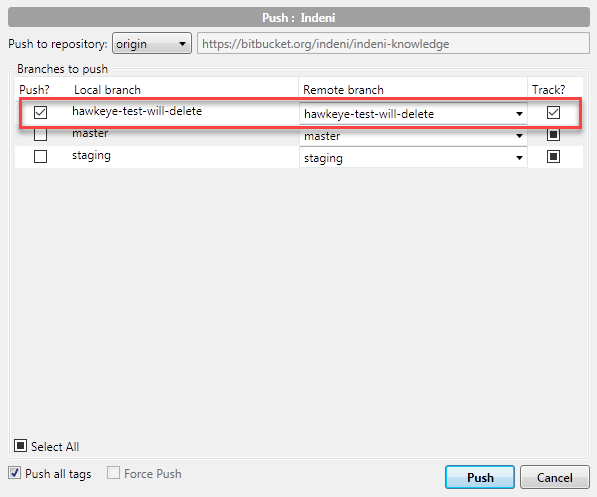
- Now you have a local branch which is setup to automatically push/pull from a same-named remote branch. You are now ready to start writing code. Whenever you later push code back to the remote, make sure you have selected only your own branch to push to.
...